
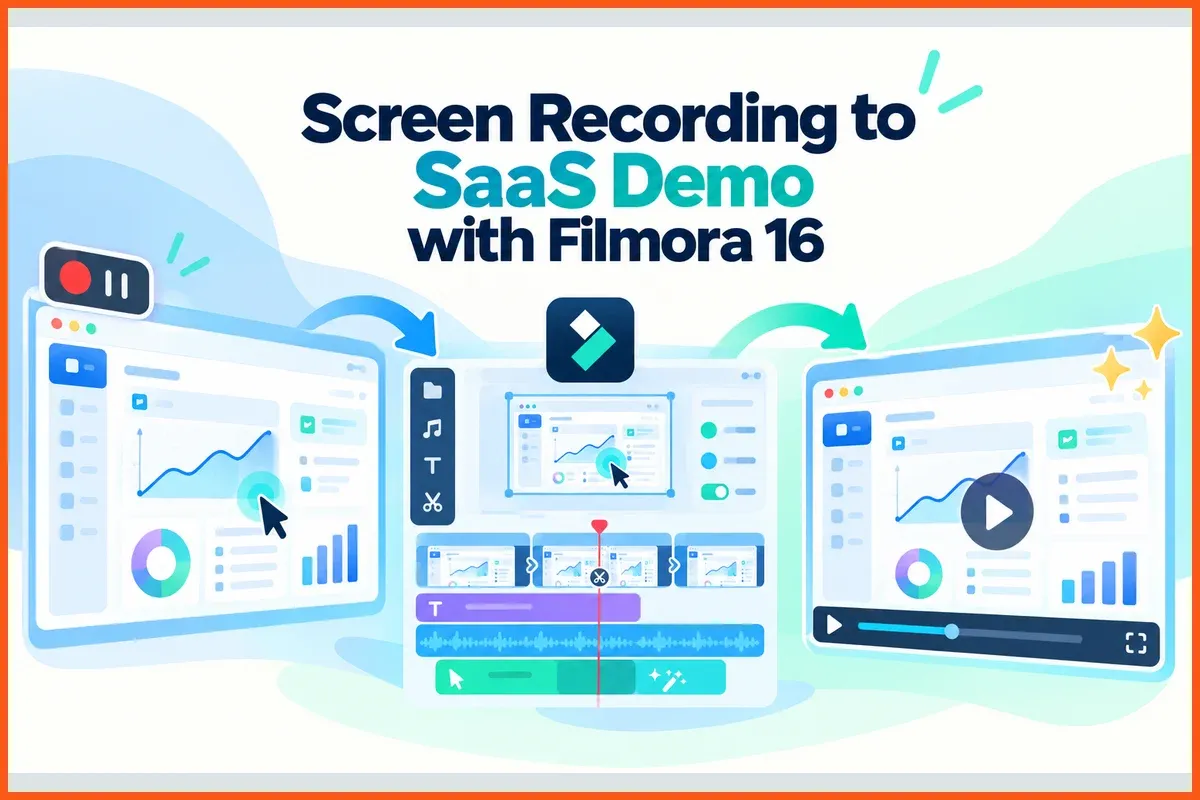
From Screen Recording to Product Demo: A SaaS Video Workflow with Filmora 16
Transforming a single SaaS screen recording into a focused demo and shareable social video.
A SaaS demo needs a clear reason for being made. Problems start when the same video tries to speak to investors and customers. Both come with different questions and expect very different things from the product. Mix those expectations together, and the actual customer task can easily get buried.
Take a freelance designer who needs to turn logged hours into an invoice. With Wondershare Filmora 16, recording and editing can happen within the same project. When several takes pile up, AI Media Analysis can help with the review. The final choice still belongs to the creator, based on what works best.
Part 1. Define One Customer and One Outcome
Investor pitches and customer demos answer very different questions for their viewers. Investors care about business potential, but customers want to see useful results. Combining both purposes can make a short SaaS video feel crowded quickly. The table below explains the main differences between these two video types:
| Investor Pitch | Customer Demo |
|---|---|
| Covers the market, business growth, and future company plans | Shows how the product completes one useful customer task |
| Uses company results to explain the wider business opportunity | Uses the product interface to show a clear result |
| Often includes slides with a few selected product screens | Records the actual workflow inside a clean demo account |
| Ends with a clear next step for interested investors | Ends with one action, such as starting a free trial |
For an invoicing tool, consider a freelance designer billing their tracked hours. The demo can show those tracked hours becoming a completed customer invoice. Give viewers one next action, such as starting a trial or booking a demo. Place these 3 choices at the top before writing your complete script. They help keep each recording and editing decision tied to one goal.
Part 2. Plan a Clear Demonstration
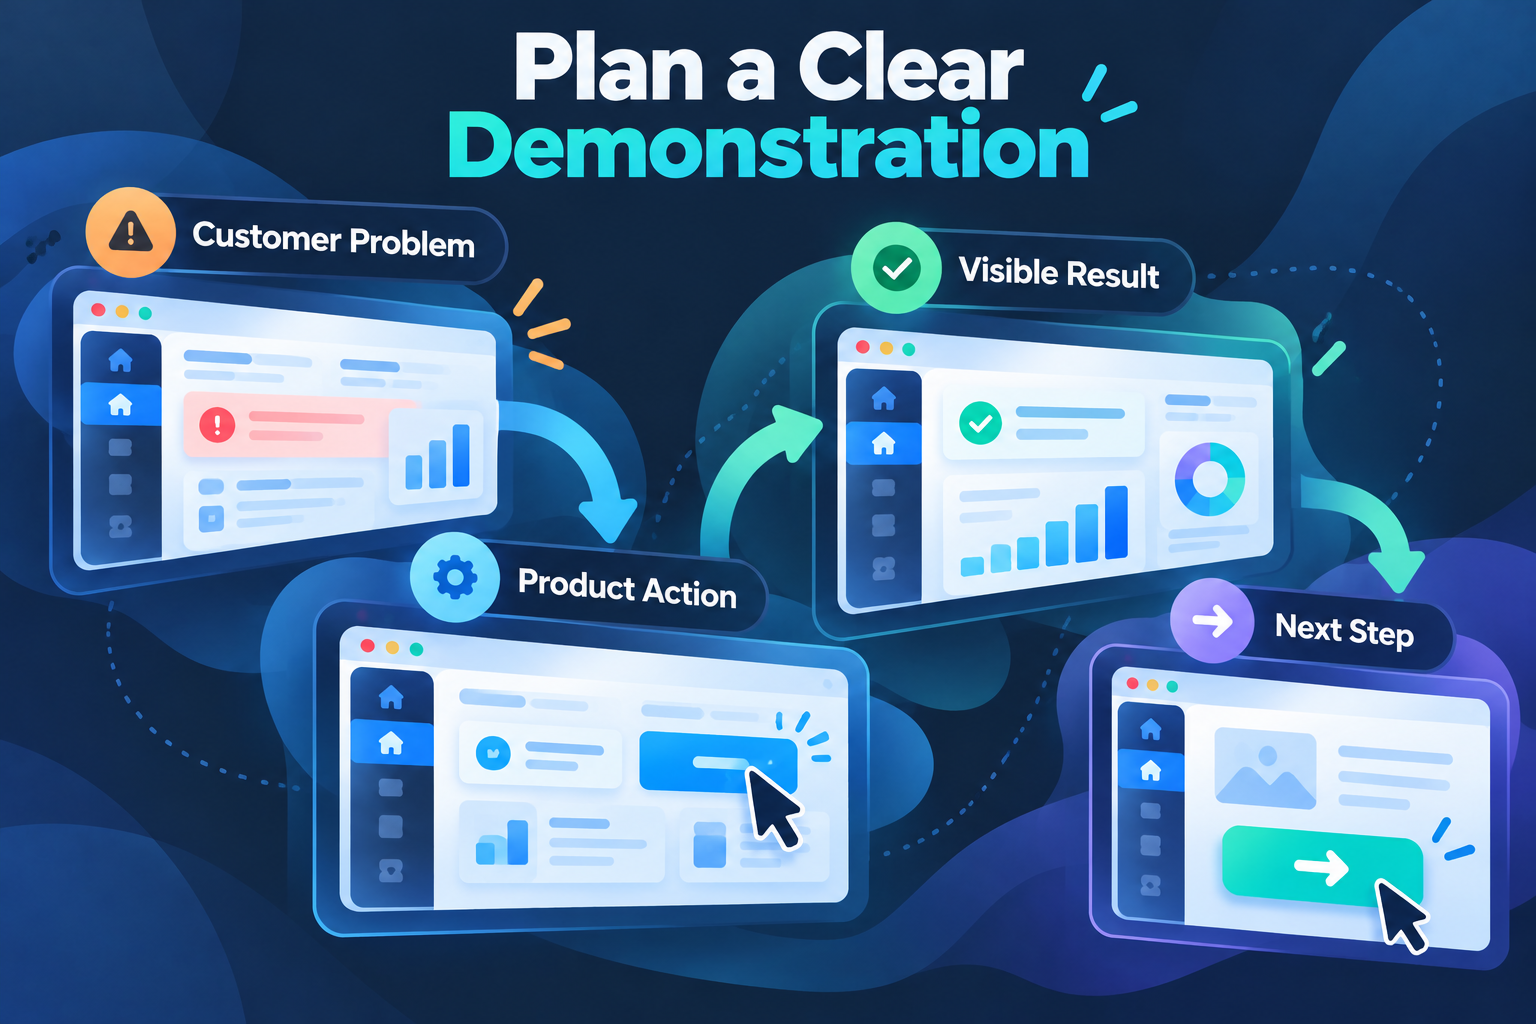
Good planning gives your SaaS demo a clear direction before screen recording begins. One complete customer task should shape everything viewers see throughout the product demonstration:
- Customer Problem: Begin with one real challenge that regularly affects your chosen customer during work.
- Product Action: Next, demonstrate how the product helps your customer handle that specific challenge successfully.
- Visible Result: Give viewers a clear look at the completed task directly inside your product.
- Next Step: Finish by guiding viewers toward one action, such as starting a trial.
Before recording begins, prepare a clean demo account using realistic sample information instead. Replace any sensitive details with safe sample information before they appear on screen. Keep unrelated browser tabs closed to prevent unwanted content appearing during screen recording. Notifications should also remain disabled throughout the recording to keep your screen clean.
Prepare concise narration that matches the product actions viewers see throughout the demonstration. Reading your narration aloud helps identify awkward wording before the recording begins.
Part 3. Record and Review in Filmora
Recording brings your planned SaaS demo to life directly inside the product interface. Filmora keeps the capture process simple before you begin reviewing your recorded takes.
Capture the App, Voice, and Webcam
Open Filmora’s screen recorder from the startup screen before recording your SaaS demo. You can also choose “File > Record Media > Record PC Screen.” Select “Window,” then choose the browser containing your prepared SaaS demo account. Turn on “Microphone” when you want to record narration with the walkthrough.
Enable “Camera” when your face needs to appear beside the product demonstration. Press “M” after a mistake to place a marker for easier editing.
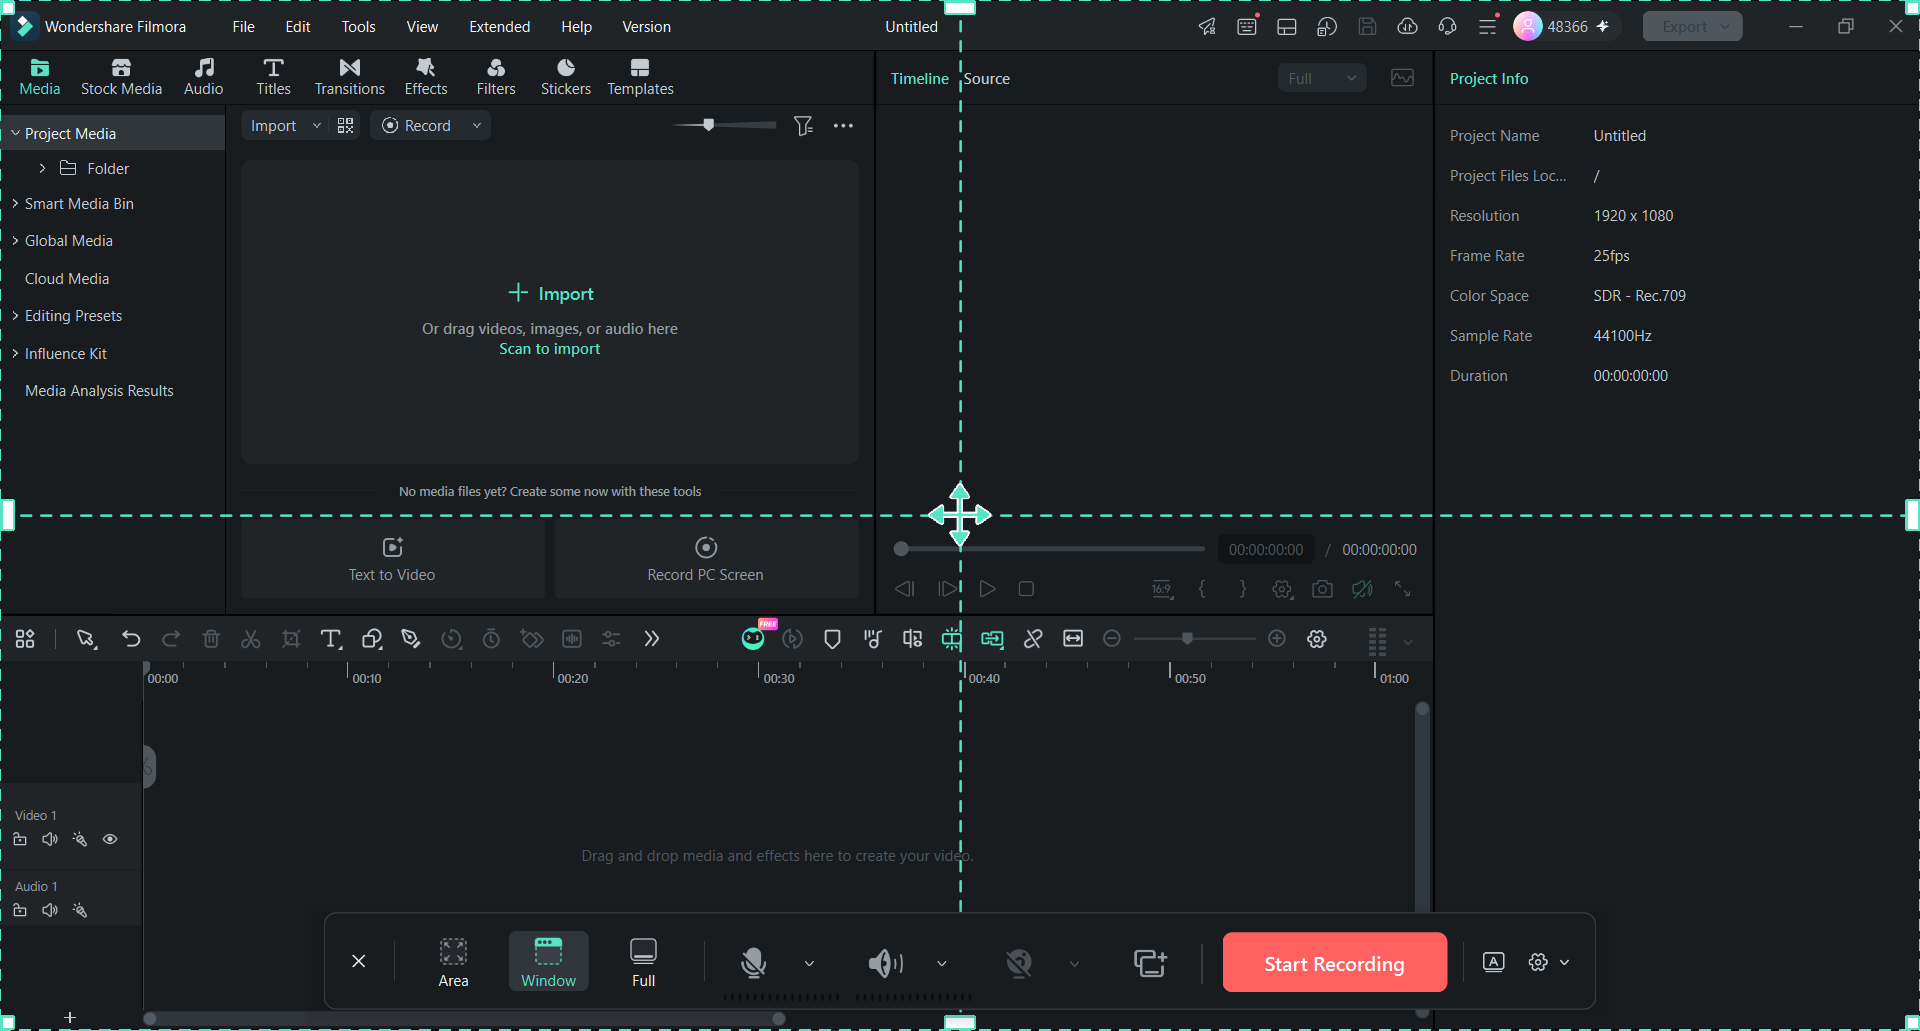
Note: Keep “System Audio” disabled when the product has no useful sounds to capture. Check “Mouse Effects” before recording to make important cursor actions easier to follow.
Review the Takes with AI
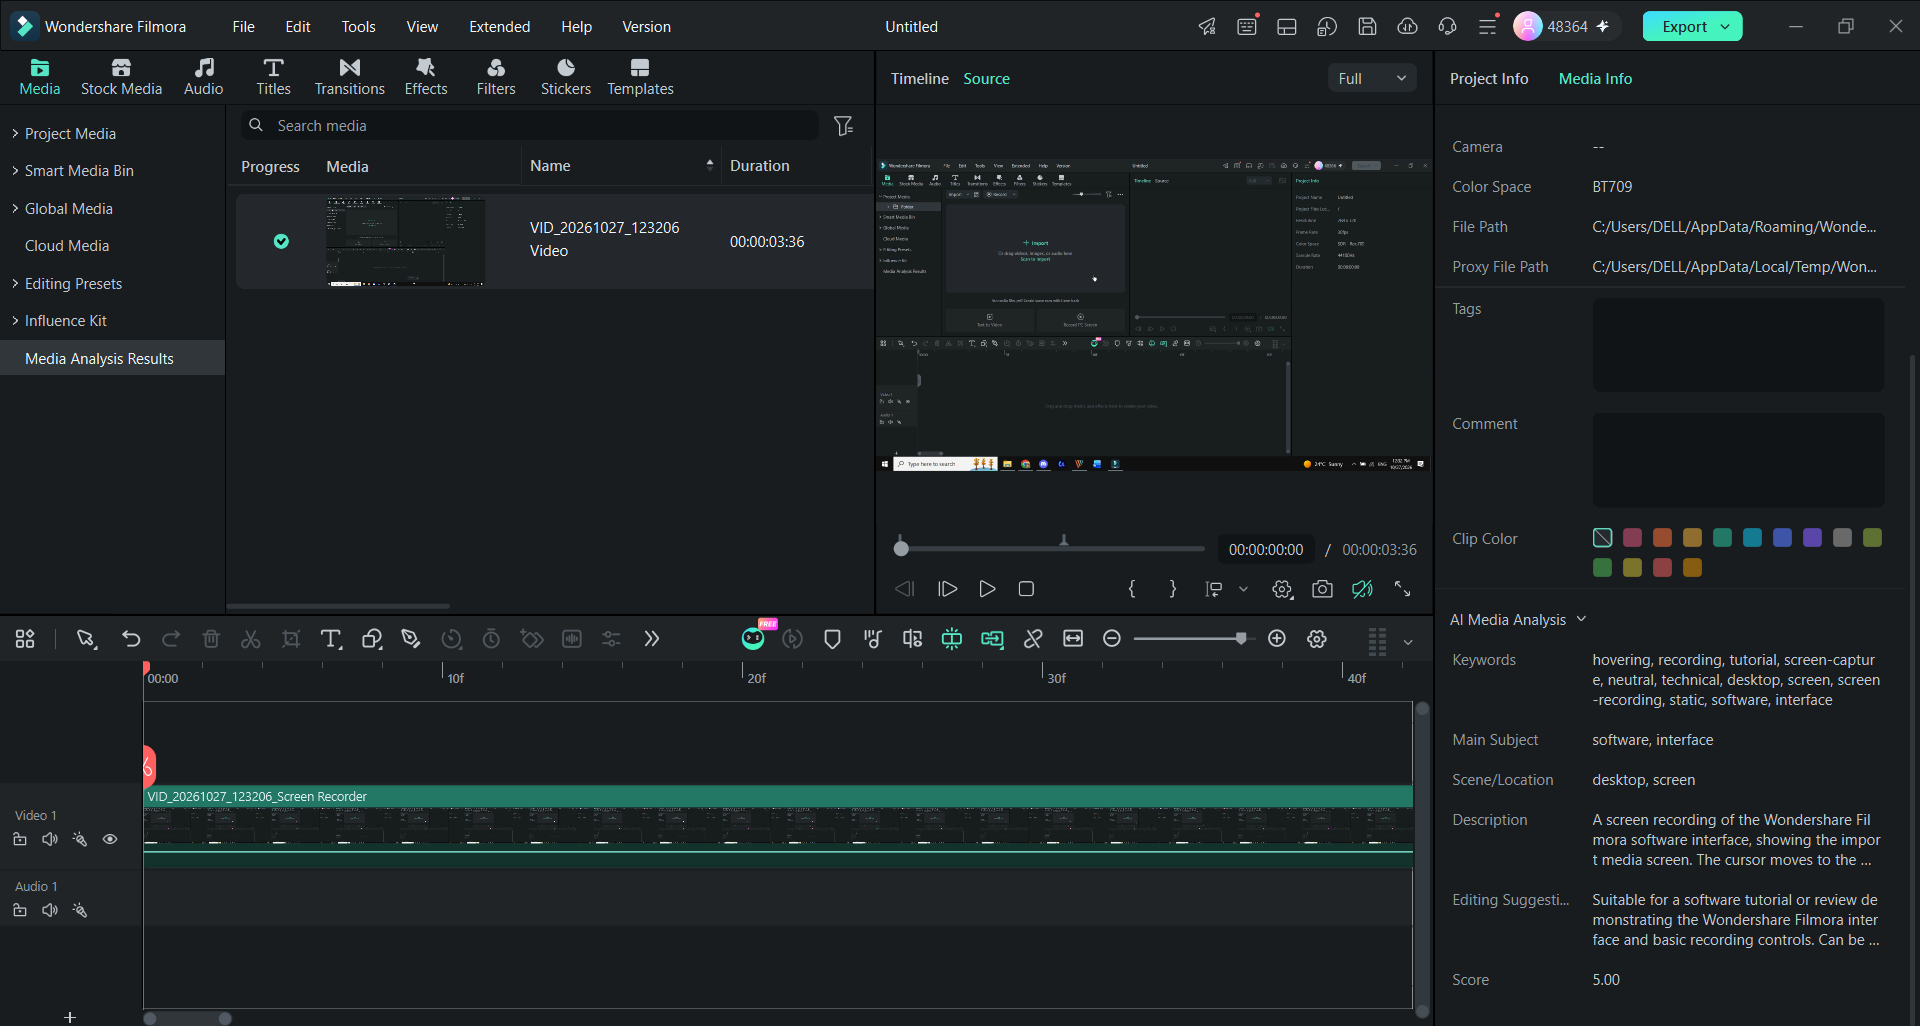
Several takes can make choosing the clearest product demonstration harder than expected. Filmora 16's AI Media Analysis generates descriptions, keywords, ratings, and editing suggestions for supported footage, helping creators prioritize potentially relevant takes.
Review the shortlisted recordings manually to confirm that the demonstrated workflow is accurate, the customer outcome is clear, and no sensitive information appears on screen.
Part 4. Edit for Product Clarity
Clear editing helps viewers follow the product without distractions from unnecessary screen activity. Start with the recorded take that shows your chosen customer task:
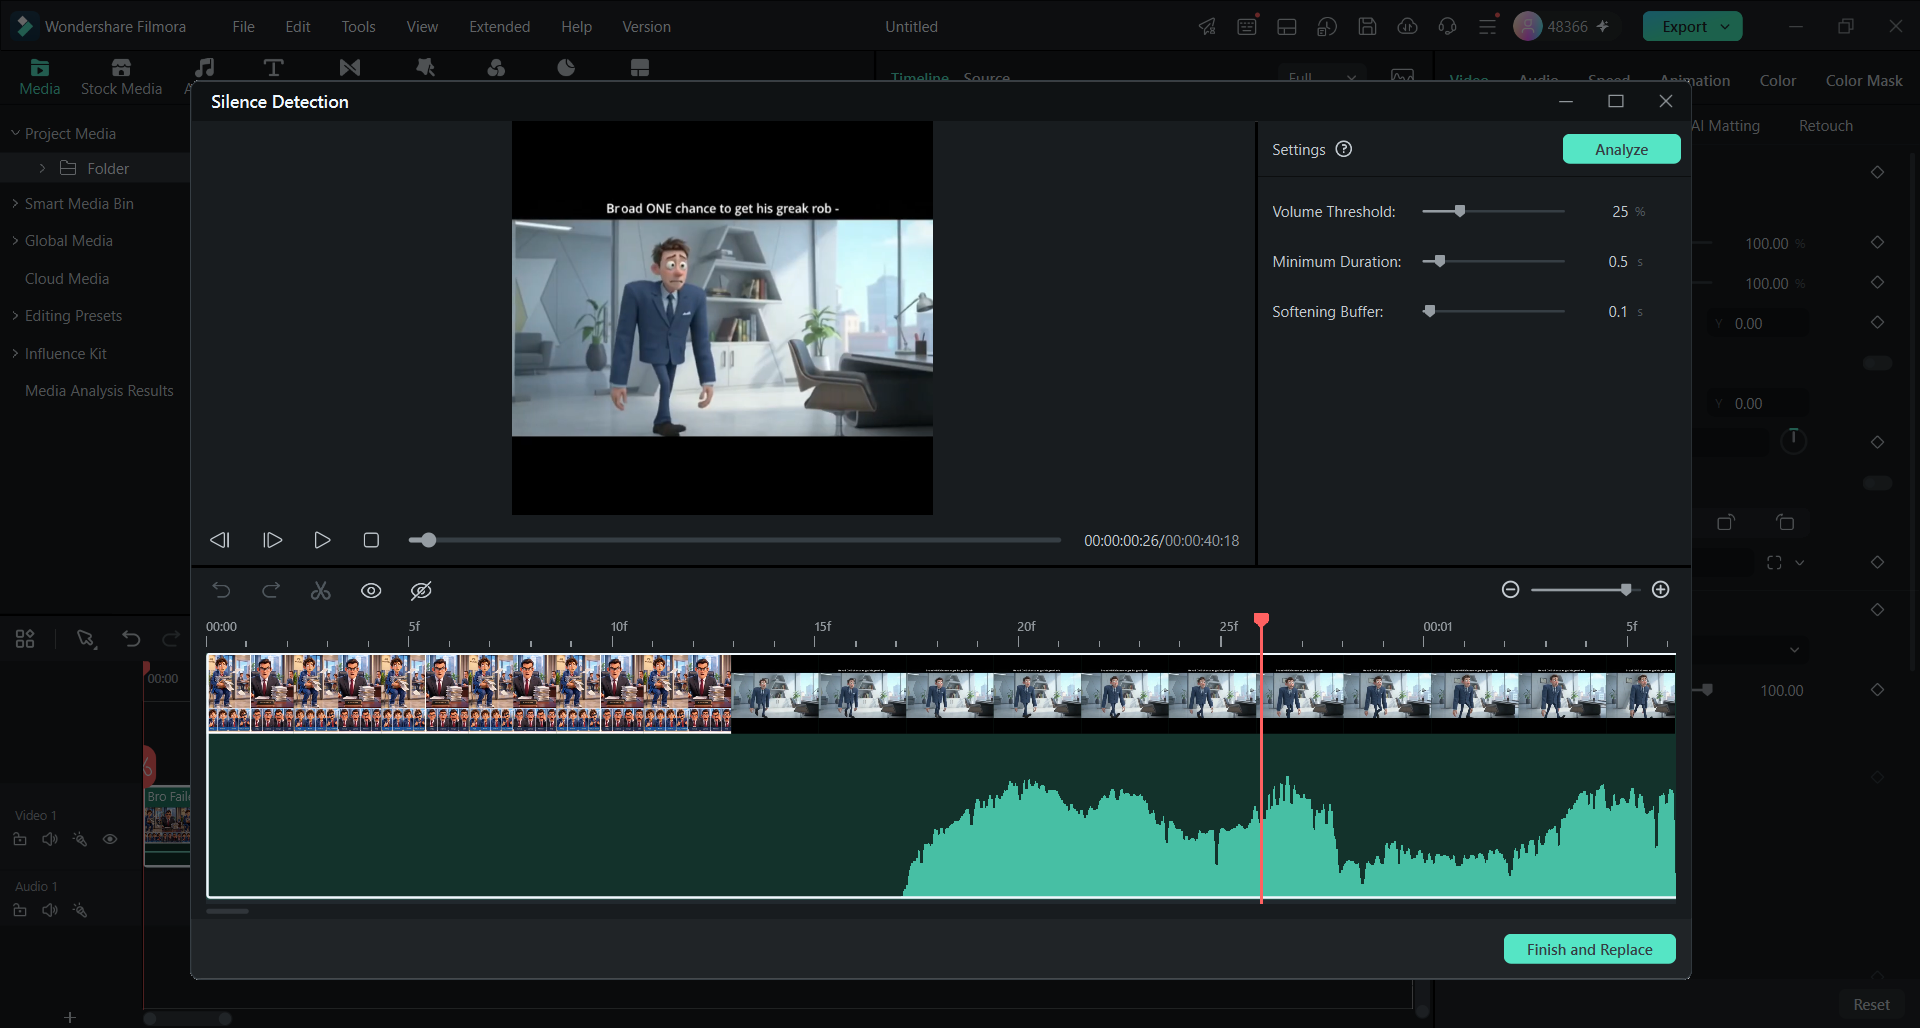
- Trim Pauses and Mistakes: Remove long pauses and failed attempts that interrupt the product demonstration for viewers. Filmora’s “Silence Detection” can help identify quiet sections that may need trimming later.
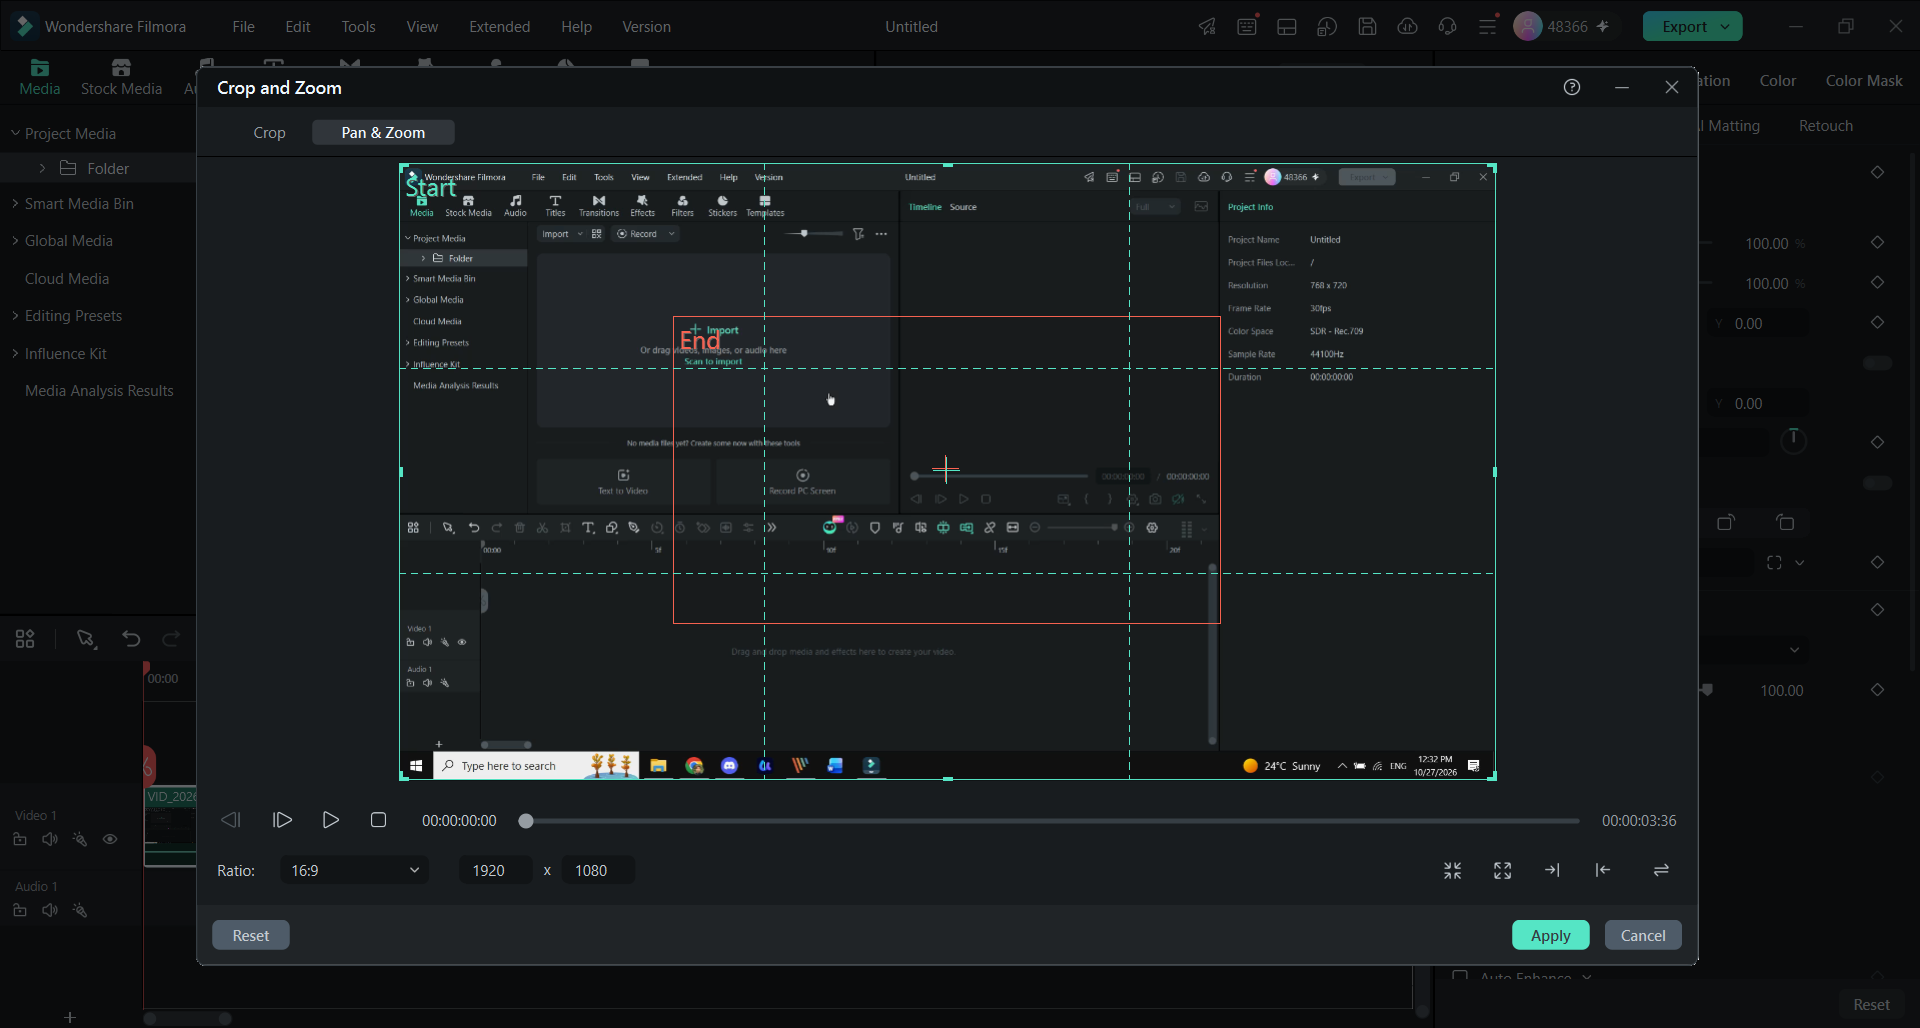
- Enlarge Important Details: Enlarge important interface areas when buttons or details appear too small on screen. Use “Pan and Zoom” to bring the viewer closer to important product actions.
- Add Feature Callouts: Add short feature callouts when viewers need extra context during important product moments. Keep every label readable without covering buttons that viewers need to see clearly.
Filmora also provides 3 separate tools that handle different accessibility needs across demos:
| Tool | What It Adds to the Demo |
|---|---|
| Speech-to-Text | Turns recorded narration into editable captions that viewers can follow without sound. |
| AI Translation | Translates existing subtitles for viewers who need the demo in another language. |
| Text-to-Speech | Creates spoken narration from written text when recorded voice is not available. |
Review every caption carefully because product names can sometimes appear incorrectly after transcription. Check translated subtitles for accuracy before using them in your final product demo.
Part 5. Prepare Versions for Distribution
Your main product demo should show the complete customer task without unnecessary distractions. For social media, create a shorter version that focuses on the key product action and its visible result. Remove details that are less relevant to the shorter format, then end with one clear next step for viewers. This keeps the social cut focused while preserving the core message of the original demo.
Changing the frame can easily push small interface details somewhere viewers cannot follow. Give these 4 areas another look once your new aspect ratio is ready:
- UI Text: Read every visible label again and enlarge anything that feels too small onscreen.
- Cursor: Play through each click and watch where the pointer travels inside the frame.
- Callouts: Shift any callout that no longer points toward the correct feature after resizing.
- Framing: Make sure viewers can still see the result and final action clearly onscreen.
Be careful with background music and sound effects added before publishing your final cut. Check the commercial-use permission attached to each audio asset before using it publicly. An included track does not always mean every commercial project can freely use it. Commercial permission also does not promise that copyright claims can never happen after publishing.
Conclusion
A useful SaaS product demo starts with one customer problem and stays focused on a clear outcome. Recording, editing, captions, and visual guidance help make that outcome easier to understand, while shorter versions can adapt the message for different distribution channels. The most effective demonstrations prioritize accurate product information, readable interfaces, and a clear next step for the intended audience.